
 by Ansel on Aug. 18, 2026 | NO COMMENT
When my trusty iPhone 12 finally gave out after a fatal drop, I was handed a shiny new iPhone 15. I thought the transition would be painless. I had a backup on my computer from about six months earlier. But as I sat at my desk, hovering my mouse over the “Restore” button in iTunes, sheer panic set in. I realized that clicking that button would completely overwrite my current phone. All the new text messages, new contacts, and new photos I had taken over the last six months would be instantly wiped out just to get my older pictures back.
I desperately needed those older photos, but I absolutely refused to sacrifice my current data to get them. This dilemma led me down a rabbit hole of backup extraction. Through extensive trial and error, I found that you can actually open up those hidden backup files on your computer and pull out just your photos without ever touching your actual phone.
I’ve since tested these extraction methods across 15+ different iOS devices (ranging from the iPhone X to the latest models) using both massive 200GB encrypted backups and standard unencrypted ones. This guide bypasses the generic advice you’ll find on official support pages. It provides clear, practical steps to extract your pictures while keeping your current device completely safe.
Software Cost Transparency: Before we begin, I want to be entirely upfront about costs. Apple’s official restore methods are completely free, but they force you to wipe your current device. To extract photos selectively without deleting your current data, you must use third-party software. While the tool we recommend below (Primo iPhone Data Recovery) allows you to scan your backup and view your photos for completely free, you will have to pay for a license to actually export and save those files to your computer. If preserving the current data on your phone is worth the software price tag to you, this guide will show you exactly how the process works.
Before you choose a recovery method, you need to understand exactly what you are asking your computer to do. The biggest mistake people make is assuming a “restore” just merges old missing files onto their current phone. It does not.
When you use Apple’s default methods via a computer or iCloud, you perform a “Full Restore”. This procedure completely reformats your current iPhone and replaces every single file with the contents of your old archive. If you have taken new pictures, downloaded new apps, or received new text messages since that archive was created, they will vanish forever.
Conversely, “Selective Backup Extraction” completely ignores your physical iPhone. Instead, it uses specialized software to open the backup file sitting on your Mac or Windows hard drive. It essentially turns that backup into a readable folder, allowing you to copy and paste just the photos you want directly to your computer’s desktop.
| Feature | Full Device Restore (Apple Default) | Selective Backup Extraction (Third-Party) |
| Data Safety | 🛑 Total Overwrite. 100% failure rate for keeping your current, recent files. | ✅ Zero Risk. Your physical phone isn’t even involved in the extraction process. |
| Time Cost | Can take hours depending on Wi-Fi speed, file size, and setting up the phone again. | Takes minutes to export, though scanning a large encrypted backup may take up to an hour. |
| Cost | Free. | Free to scan and preview; paid license required to export. |
| The Result | Your phone travels back in time to the exact date of the backup. | You get your old photos saved securely to your computer’s hard drive. |
Choosing the right technique depends entirely on whether you are willing to lose the data you’ve generated since your last backup. For anyone who simply wants their old pictures back without wiping their phone, selective extraction is the only logical choice.

Scan, preview, and recover available iPhone data without a full-device restore. Click Here to Free Download
Because an Apple backup file isn’t a normal folder—it’s a massive, tangled database of system settings, app data, and media—you can’t just click it open natively. You need a tool to read the database. I recommend using Primo iPhone Data Recoverybecause, in my testing, it handles large, encrypted backups with the fewest crashes.
Here is exactly what the extraction process looks like on your screen, including the technical hurdles you might run into.
1. Install the Software
Download and install Primo iPhone Data Recoveryon your Mac or Windows PC.
2. Locate Your Backup
Open the software and click Recover from iTunes Backup. In most cases, the software will automatically detect your backups and list them by date.
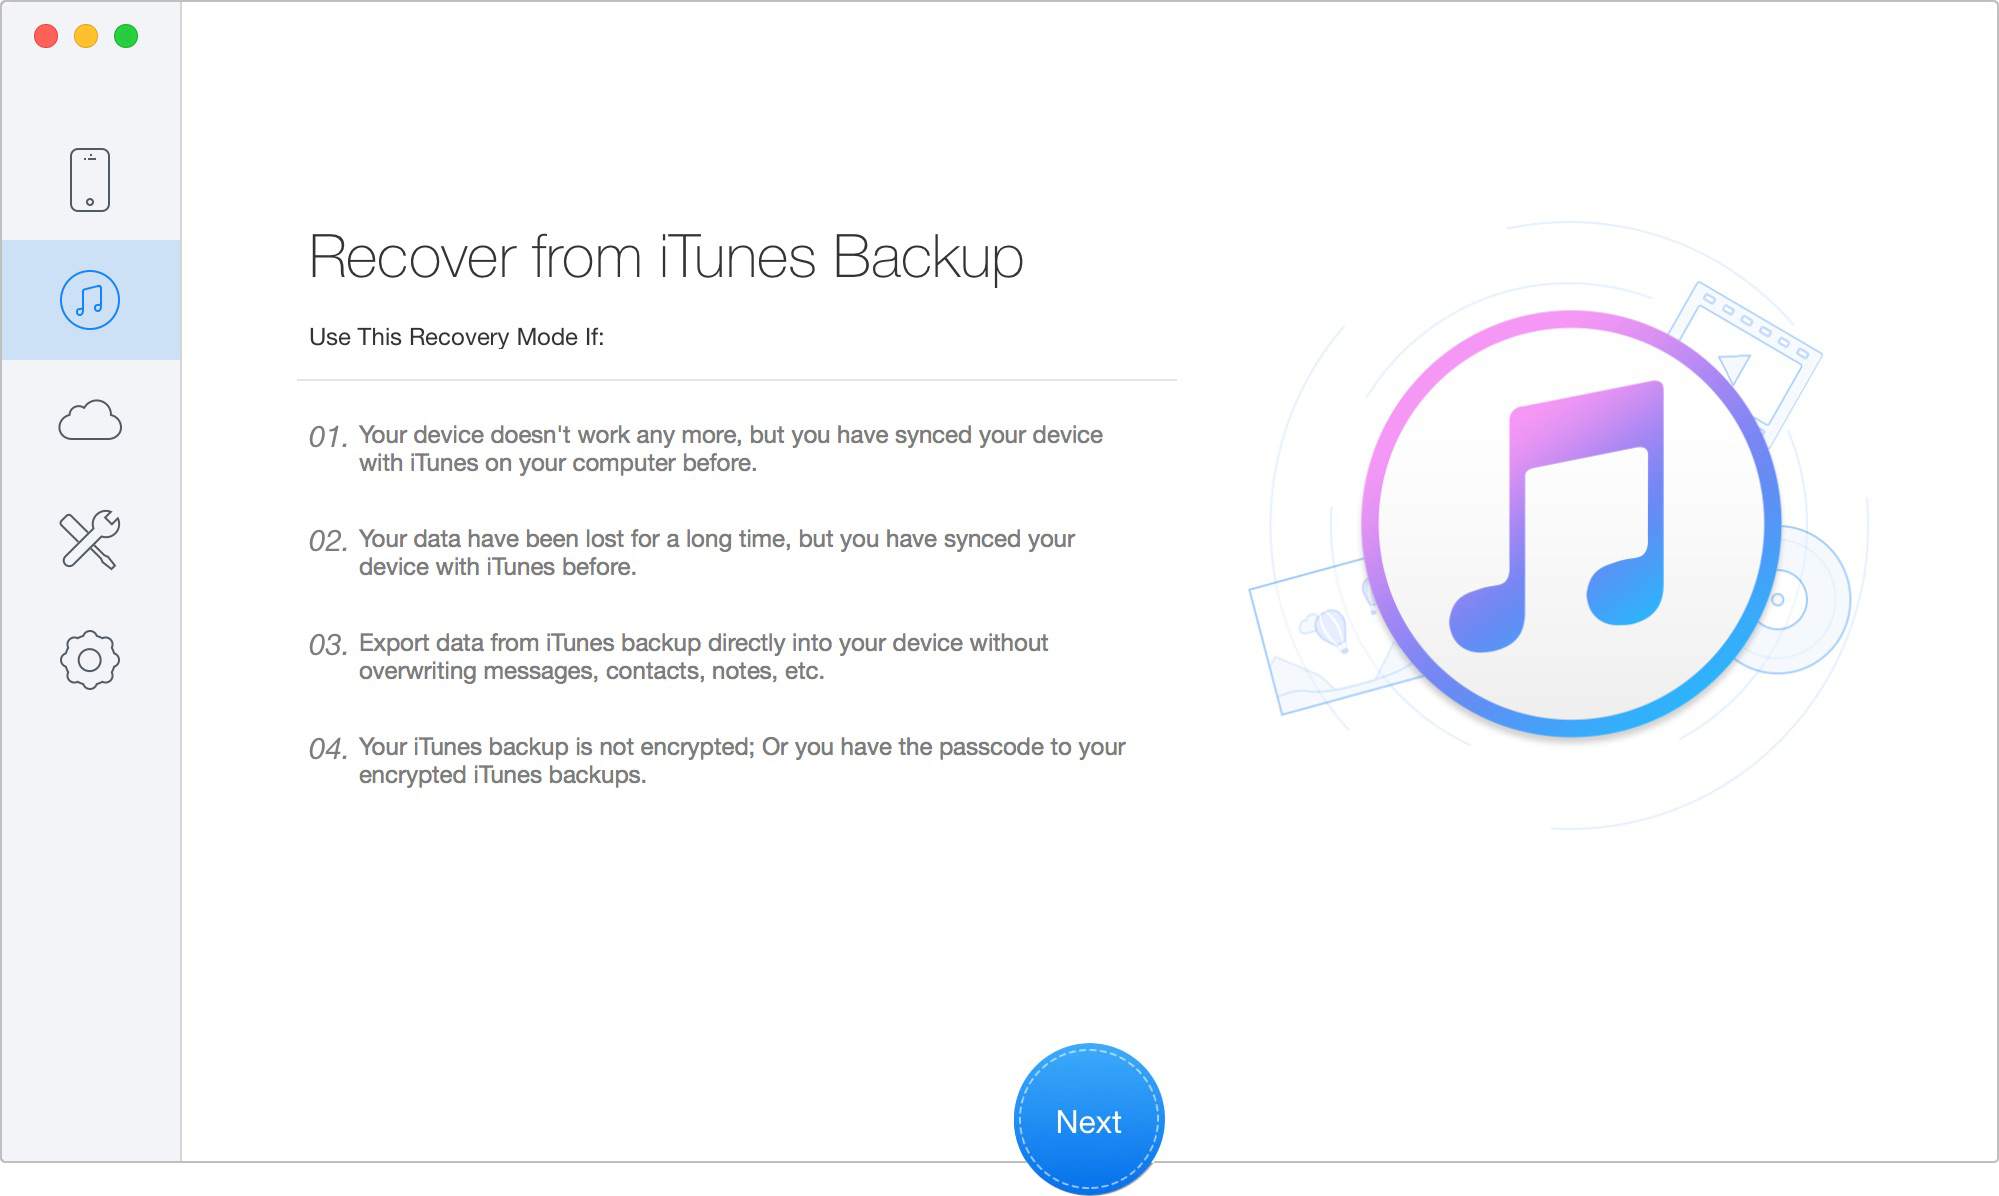
Choose the Recover Data from iTunes Backup Mode
Real-World Tip: What if the software can’t find your backup? Sometimes, auto-detect fails. If the list is empty, you will need to point the software to your “backup folder” manually.
%appdata%\Apple Computer\MobileSync\Backup into the address bar.Command + Shift + G, and paste ~/Library/Application Support/MobileSync/Backup/.Find the folder with the correct date, and drag it into the software interface.
3. Scan and Decrypt the Archive
Select your backup and click scan. If you previously checked “Encrypt local backup” in iTunes or Finder, a prompt will ask for your password. Be patient here. When I tested this on a 128GB heavily encrypted backup, it took the software 45 minutes to decrypt and build the file tree. Go grab a coffee and let the progress bar do its thing.
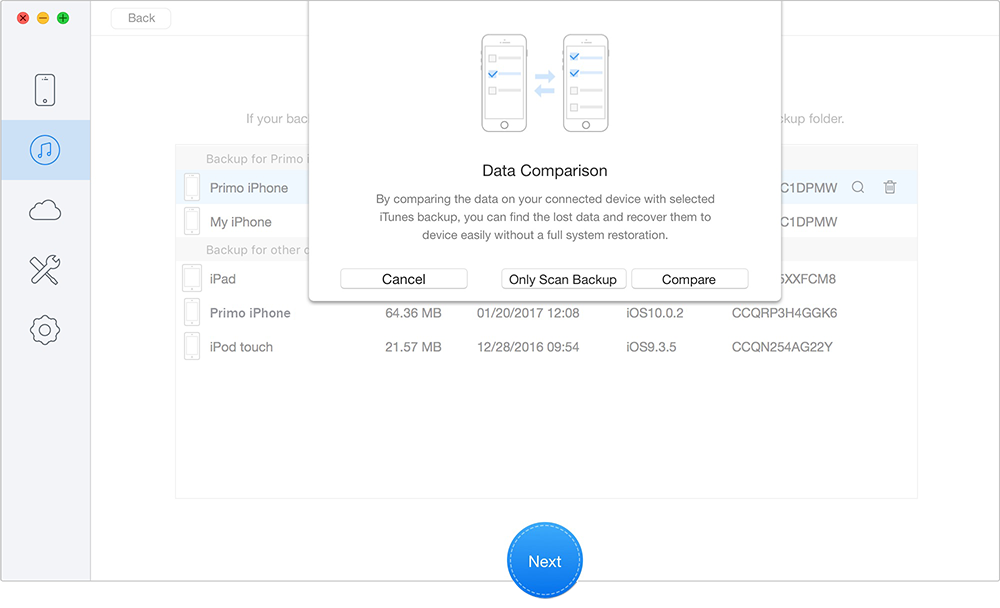
Scan Lost Data from iTunes Backup
4. View and Organize Your Files
Once the scan finishes, click the “Photos” tab on the left sidebar. You will see thumbnails of all your images. The good news? The software doesn’t just dump 5,000 photos into a single, chaotic folder. It categorizes them by the albums you originally created on your phone, making it easy to find specific events or dates.
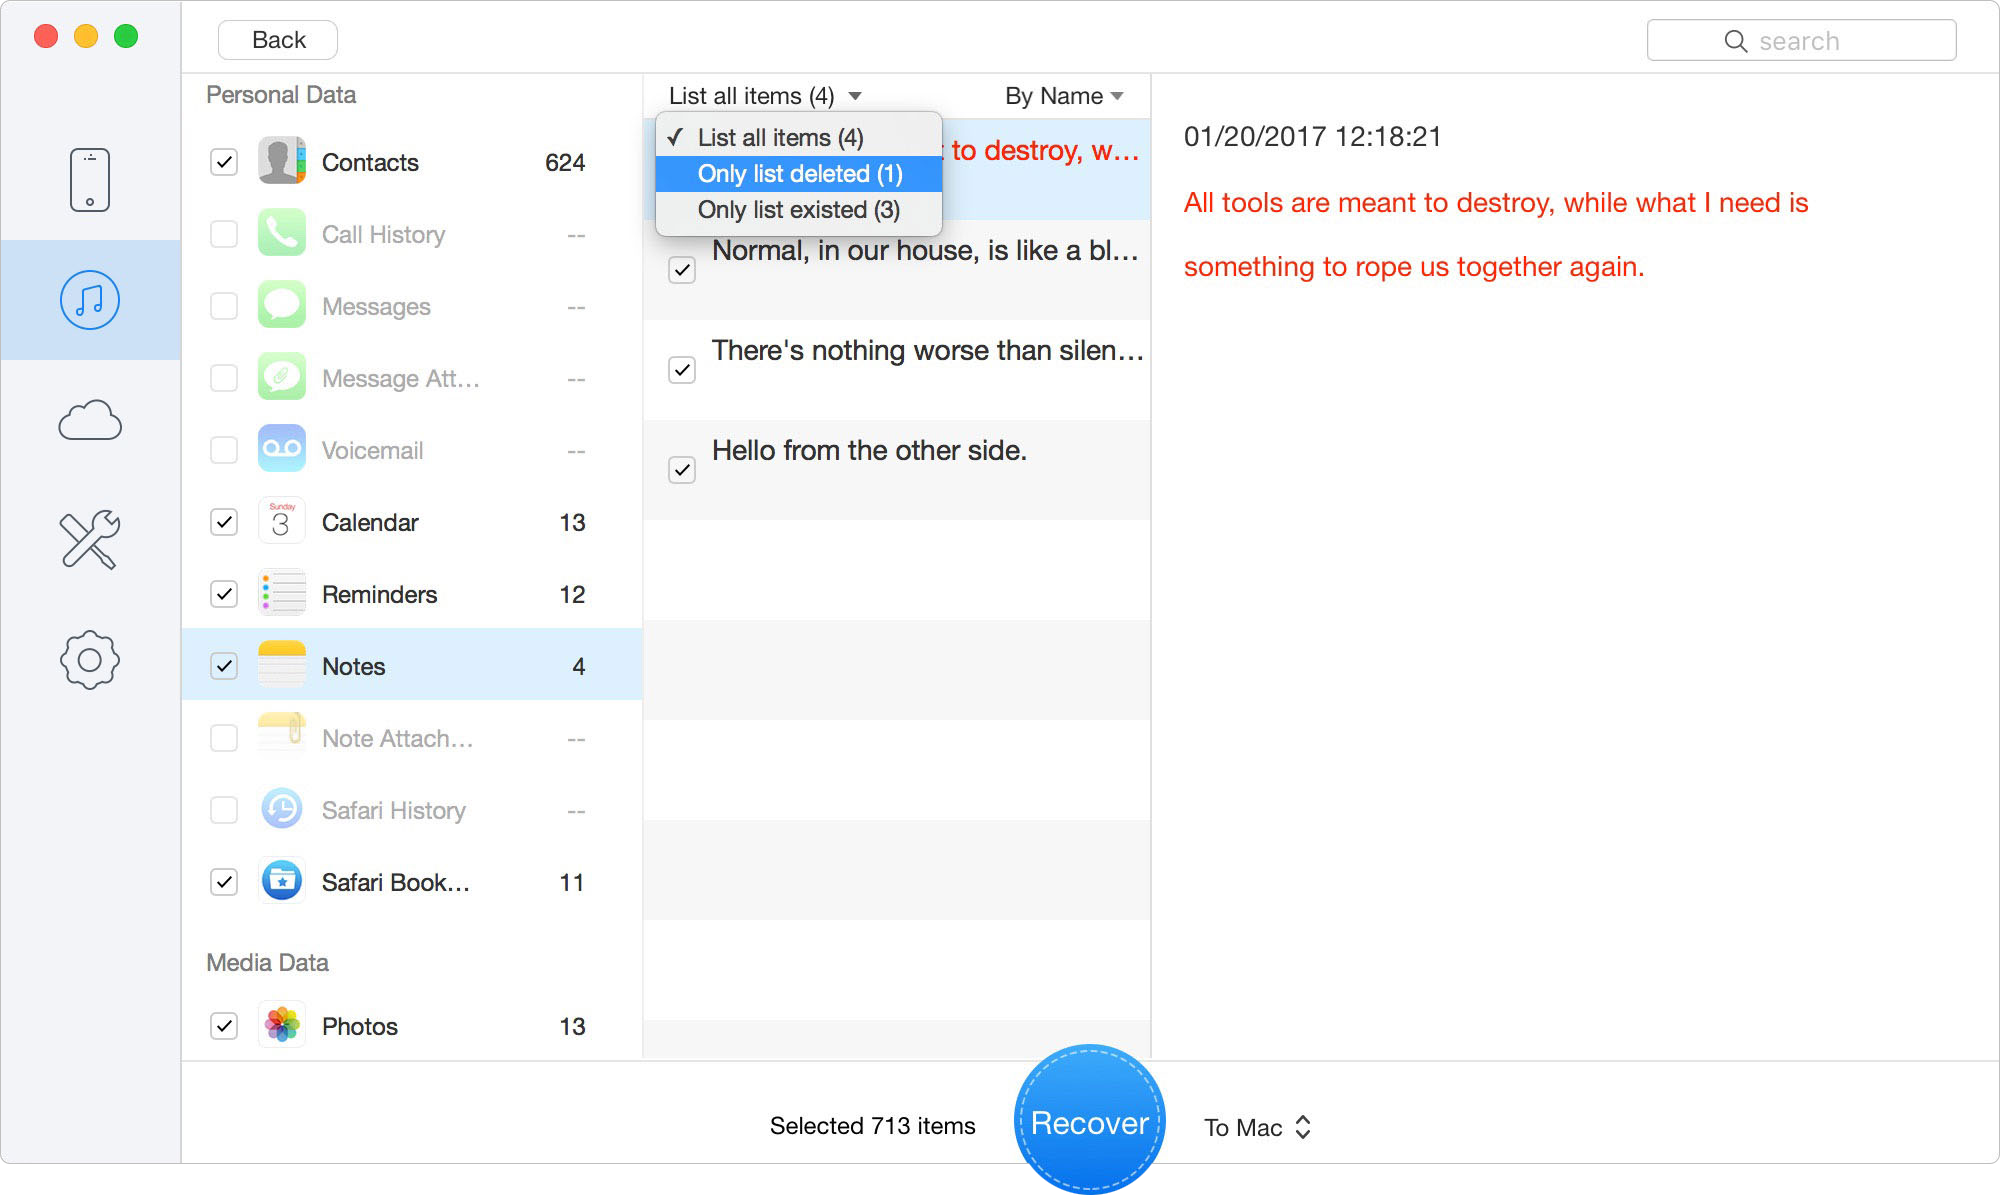
Preview the Scanned iOS Data
5. Choose Your Export Format and Save
Select the photos you want. Before you click export, look at your output settings. If your original photos were taken on a newer iPhone, they are likely in Apple’s High-Efficiency format (HEIC). You can choose to export them in their original HEIC format, or you can have the software automatically convert them to standard JPGs so they are easily viewable on any Windows PC or older device. Once you’ve chosen, click Export to save them to your local hard drive.
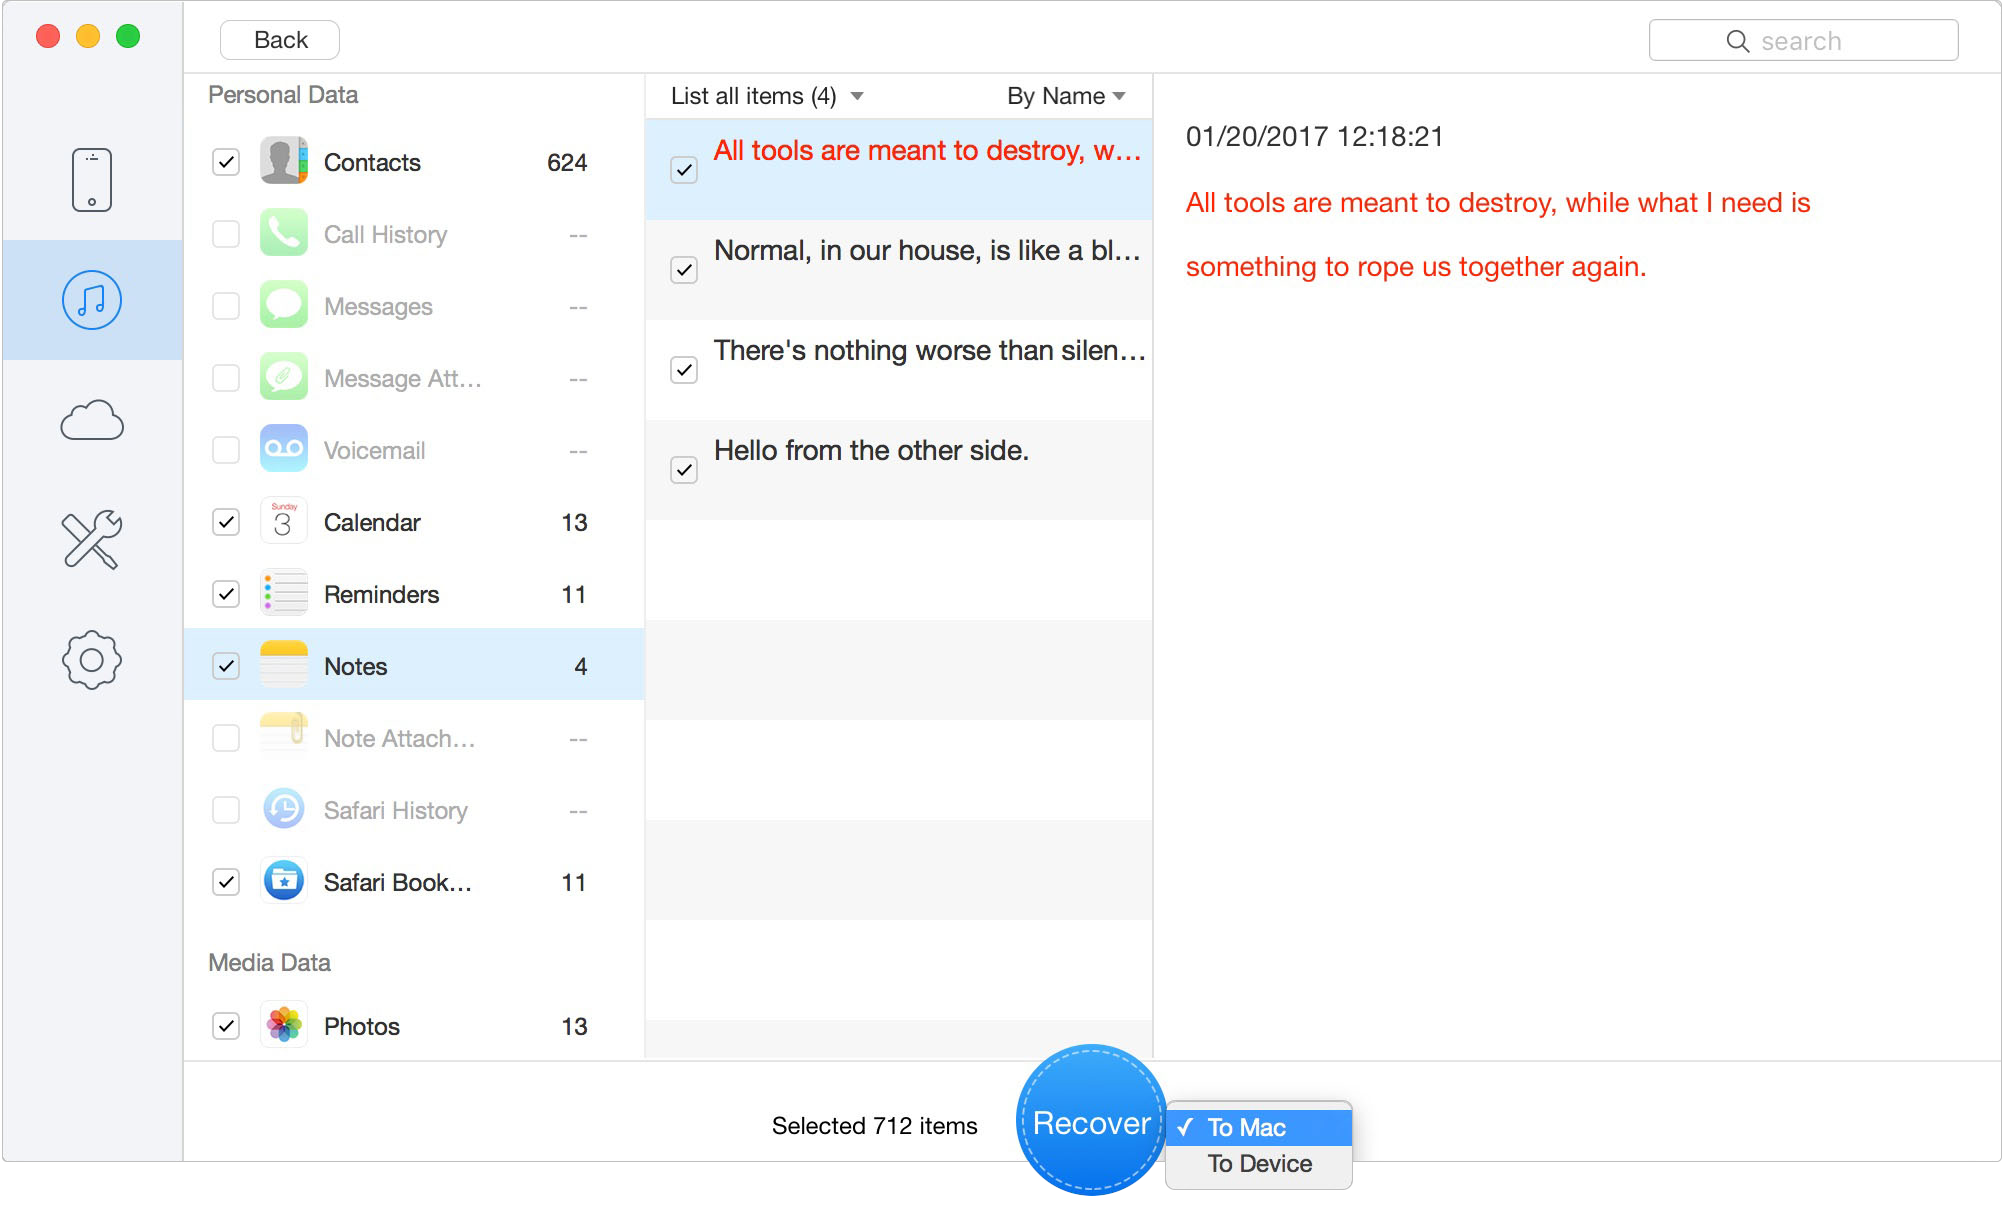
Recover Data to Computer or iOS Device
If you do not want to pay for third-party software and are entirely willing to erase your current phone, you can use Apple’s native software. You will use iTunes on older Macs or Windows PCs, or Finder on Macs running macOS Catalina and newer.
🛑 CRITICAL DATA LOSS WARNING:
You must proceed with extreme caution. Pressing the “Restore Backup” button forces a complete device overwrite. Any text messages, notes, calendar events, or pictures taken after the backup date will be permanently deleted from your current device. There is no way to undo this action.
If your “backup is encrypted”, you must enter the exact password you typed when the archive was originally created months or years ago. Apple is fiercely strict about this: there is no “Forgot Password” link for an encrypted backup. If you cannot remember the password, iTunes and Finder will permanently lock you out of that file. Furthermore, third-party extraction tools cannot bypass this security either. If the password is lost, the backup is entirely useless.

Designed to fit effortlessly into your iPhone data recovery.
Download NowOne of the most common complaints I hear is: “I restored my phone from iCloud, but my photos are missing!” To understand why this happens, we have to look at the massive difference between iCloud Sync and an iCloud Backup.
If you had the iCloud Photos toggle turned ON in your old phone’s settings, Apple automatically uploaded your images to a living, breathing cloud library. Because those pictures are already safe on Apple’s servers, Apple intentionally excludes them from your nightly iCloud device backup to save your storage space.
However, if iCloud Photos sync was turned OFF on your old device, your images were bundled up and locked inside the static “iCloud Backup” file.
To retrieve pictures trapped inside a static iCloud backup, Apple requires you to factory reset your current device:
Remember, this technique will erase all current data on your phone.
When I was staring down that “Restore” button in iTunes, I couldn’t help but wonder why Apple makes this so difficult. Why can’t I just open the backup folder and drag a photo out?
The answer lies in how Apple engineers its storage protocols. When your computer or iCloud creates a backup, it isn’t making a neat, organized folder of your individual files. It is generating a single, complex database (specifically, an SQLite database).
In this database, your text messages, system settings, app data, and media are all woven together into one massive code structure. When you tell your iPhone to natively restore this file, the iOS operating system cannot separate the threads. It has to take the entire old database block and drop it directly over your phone’s internal storage drive. To make room for the old block, it has to completely crush and erase whatever currently exists there.
This is exactly why third-party extraction tools exist. By reading and translating that complex database on your computer’s much more powerful processor, software like Primo can isolate the media files and rebuild them into standard JPGs or HEIC files, allowing you to bypass Apple’s restrictive “all-or-nothing” design.
Scan, preview, and recover available iPhone data without a full-device restore. Click Here to Free Download
Yes. You can use third-party backup extraction software installed on your Mac or Windows computer. These tools locate the raw database files created by iTunes or Finder. They allow you to browse the contents and save specific media directly to your computer’s hard drive, meaning your current iPhone is never touched or overwritten.
It depends entirely on your phone settings at the time the backup was made. If you used the iCloud Photos feature to sync your library, your images are stored separately on iCloud.com and are not inside the static iCloud Backup file. If sync was disabled, your photos are included in the static backup.
If you use a tool like Primo iPhone Data Recovery, you usually get an option. You can export the photos in their native HEIC format (which Apple uses to save space), or you can instruct the software to convert them to standard JPG format during the export process so they are easier to view on older computers or Android devices.
Yes. Almost all reputable extraction programs offer a free scanning and preview interface. This is highly recommended. You can run the scan, browse your albums, and verify that your lost files are actually inside the archive. You only need to purchase an export license once you confirm the photos are there and you are ready to save them to your computer.
Losing an old phone is stressful enough; getting your memories back shouldn’t require you to sacrifice the new data you’ve built up since. While Apple’s native restore methods are highly effective for setting up a brand-new, empty device, they are destructive to a phone you are currently using. If you are trying to recover old photos without wiping your current messages, contacts, and app data, selective extraction is the only safe path forward. By taking the time to locate your backup files on your computer and using a tool like Primo iPhone Data Recovery, you can safely preview your lost albums and save them securely to your desktop. Don’t risk overwriting your life just to get a few pictures back—extract them smartly and take total control over your data.
Ansel A member of PrimoSync Support Team, passionate for mobile industry and ready to help you with Apple related issues.
Get Up-to-the-minute iPhone Tips & Enjoy Awesome Deals.



Design Simple and Beautiful Software
with Passion & Love

