Here is a comprehensive online guide for Primo Android Data Recovery. With the tutorials below you will find out how to recover deleted data from Android device directly. If you still have questions after reading this guide, please do not hesitate to contact our Support Team, and you will receive reply within 24 hours.
 Download
 The Deep Scan function of Primo Android Data Recovery can help scan & recover deleted data from your Android devices freely, including Contacts, Call Logs, Messages, Calendar, Photos, Music, Videos and App Documents. Please refer to this detailed guide to make good use of this free android data recovery software.
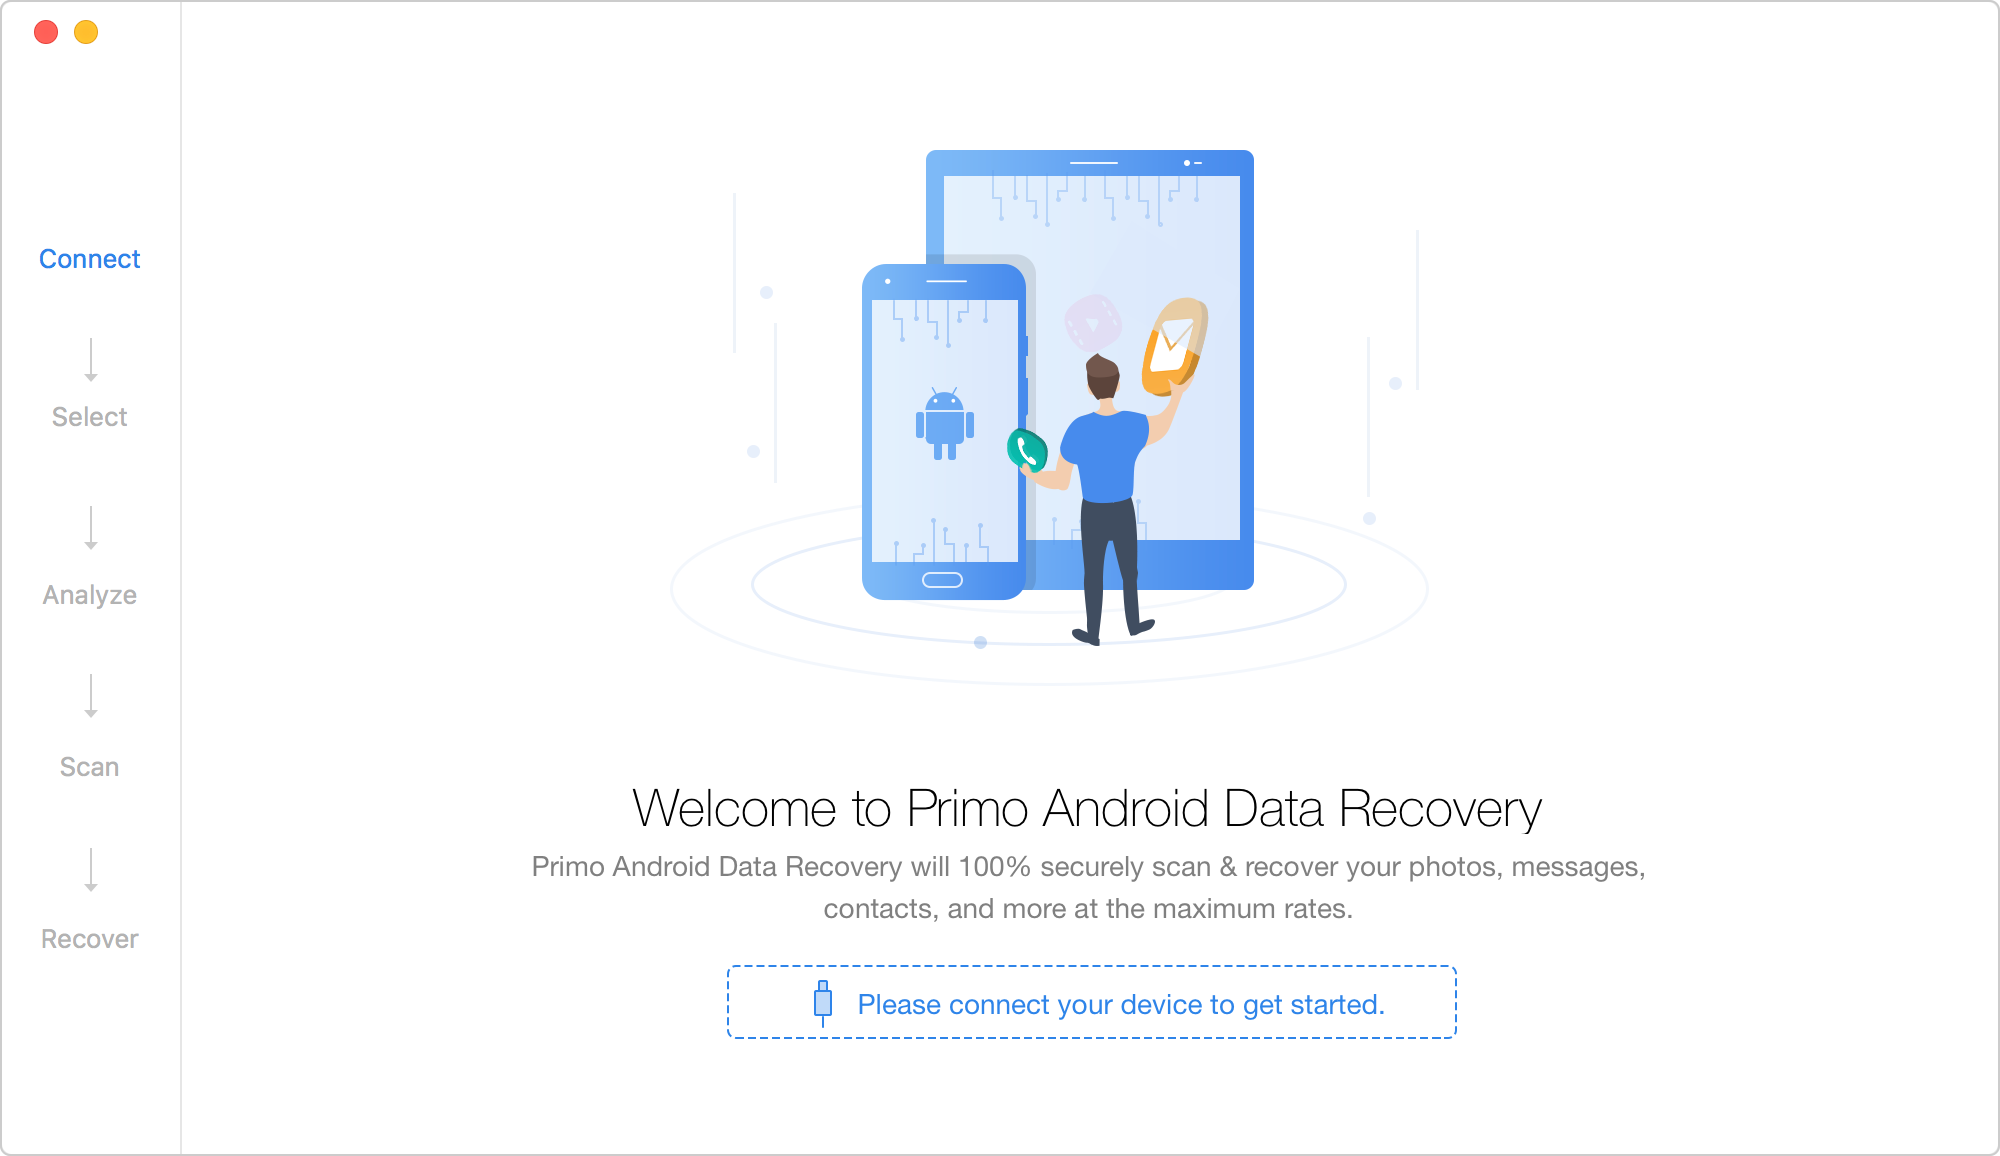
After launching Primo Android Data Recovery on your computer, please connect your Android device to computer with the USB cable. If you don’t connect your device to computer or Primo Android Data Recovery fails to detect your device, you will see the interface as below.
Once your device is detected, you will see the main interface of Primo Android Data Recovery.
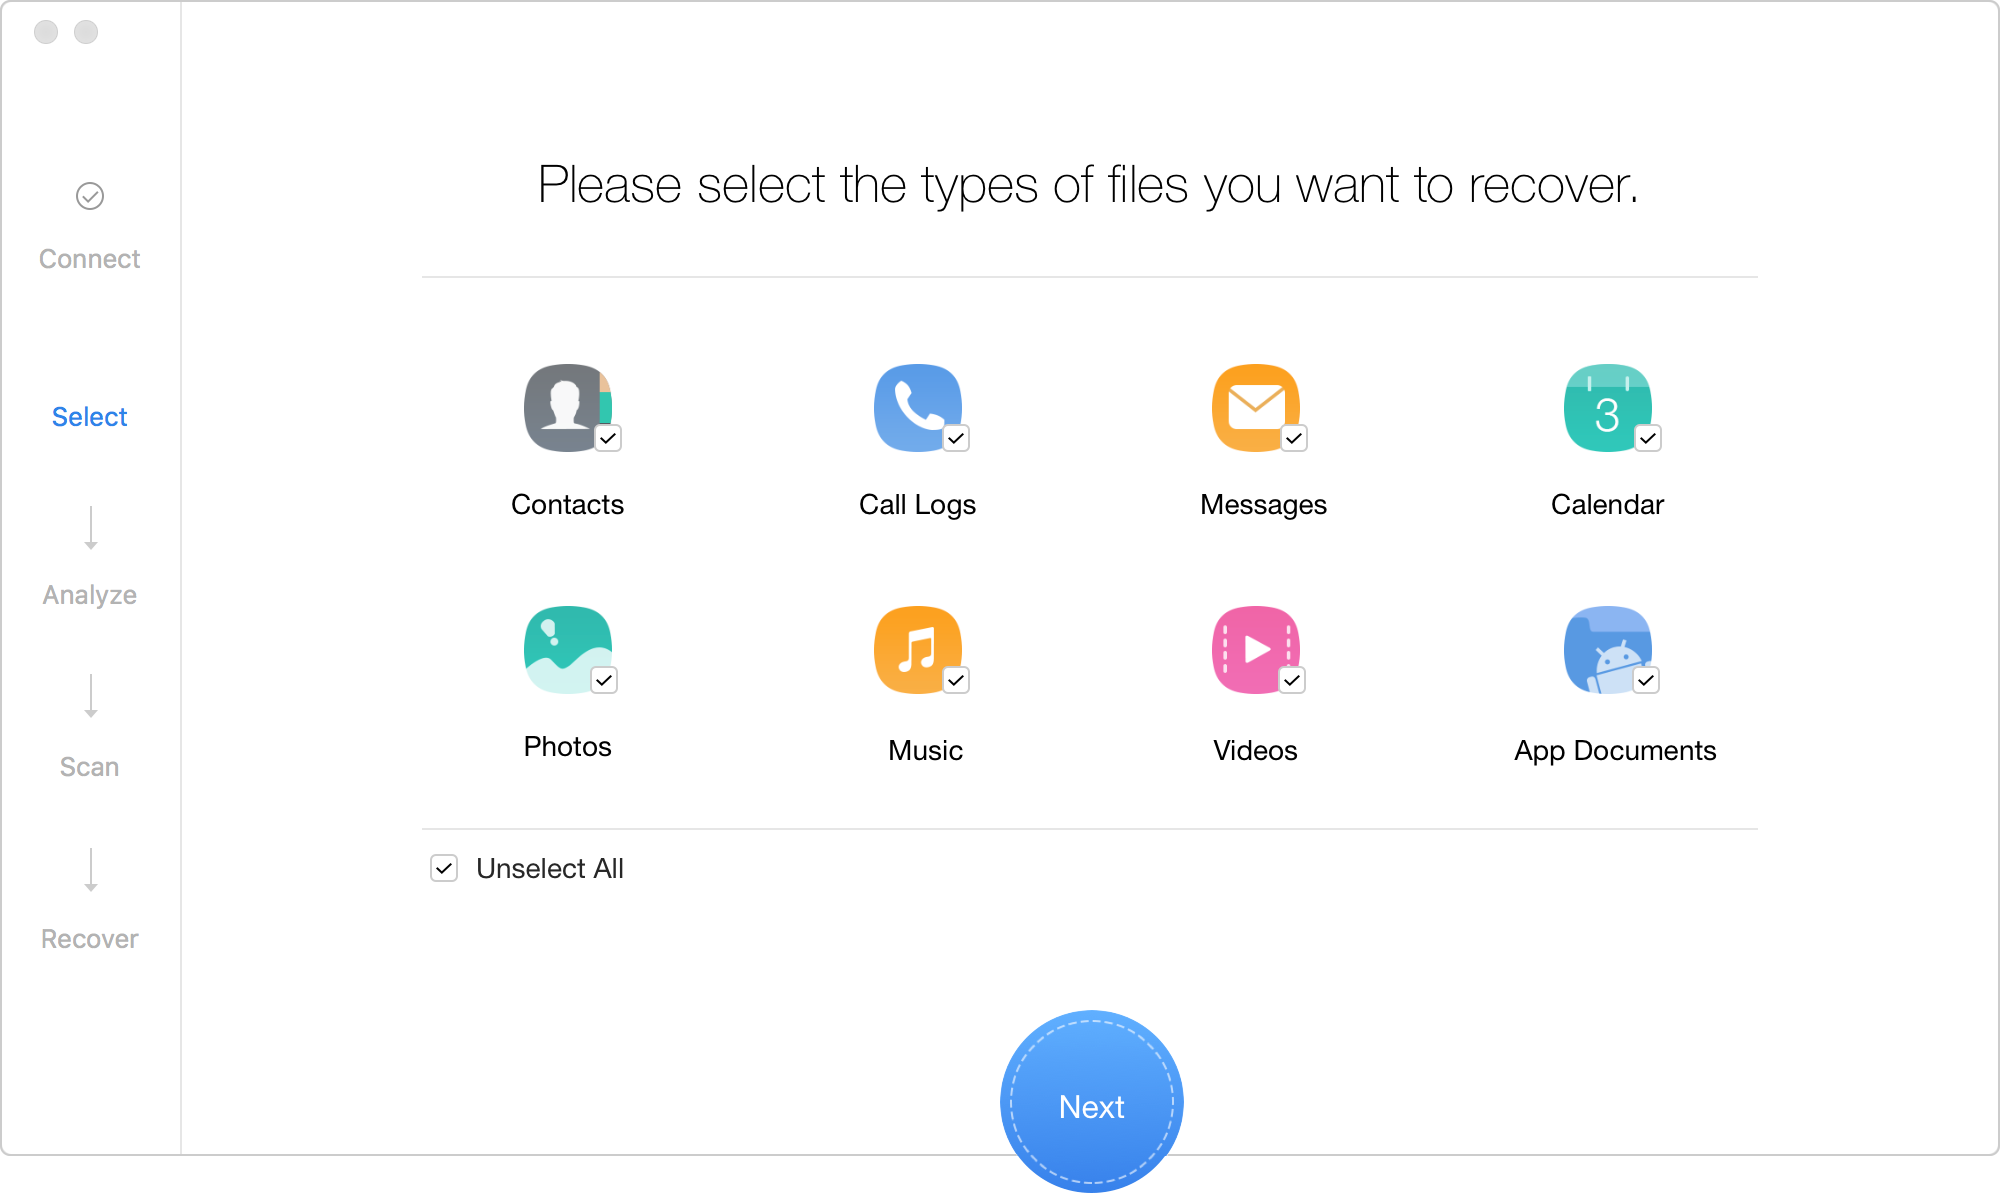
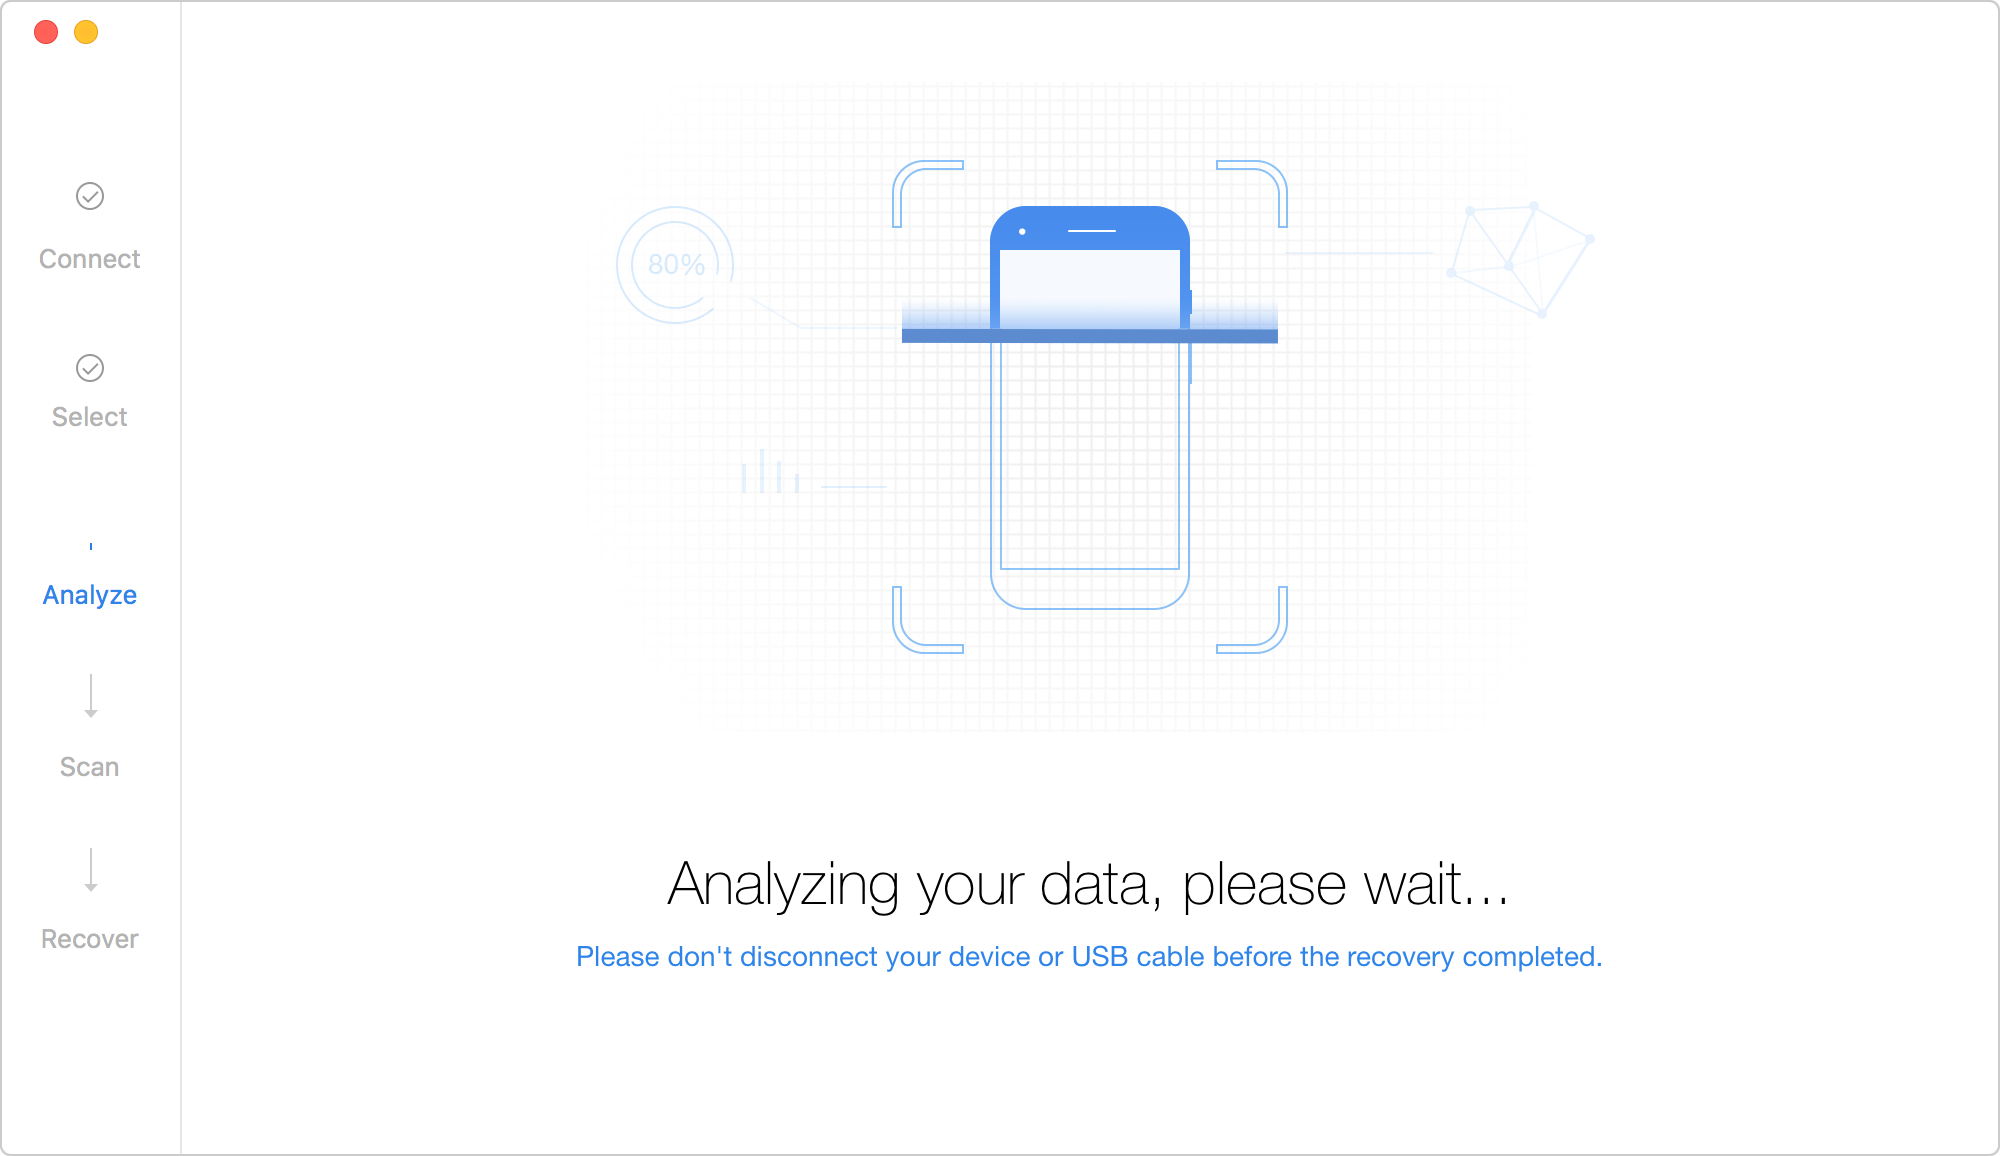
To shorten the scanning time, you can uncheck the boxes of file types you don’t want to recover. Then, please click  button. If your Android device has been rooted, Primo Android Data Recovery will enter the Deep Scan function and scan your device data automatically.
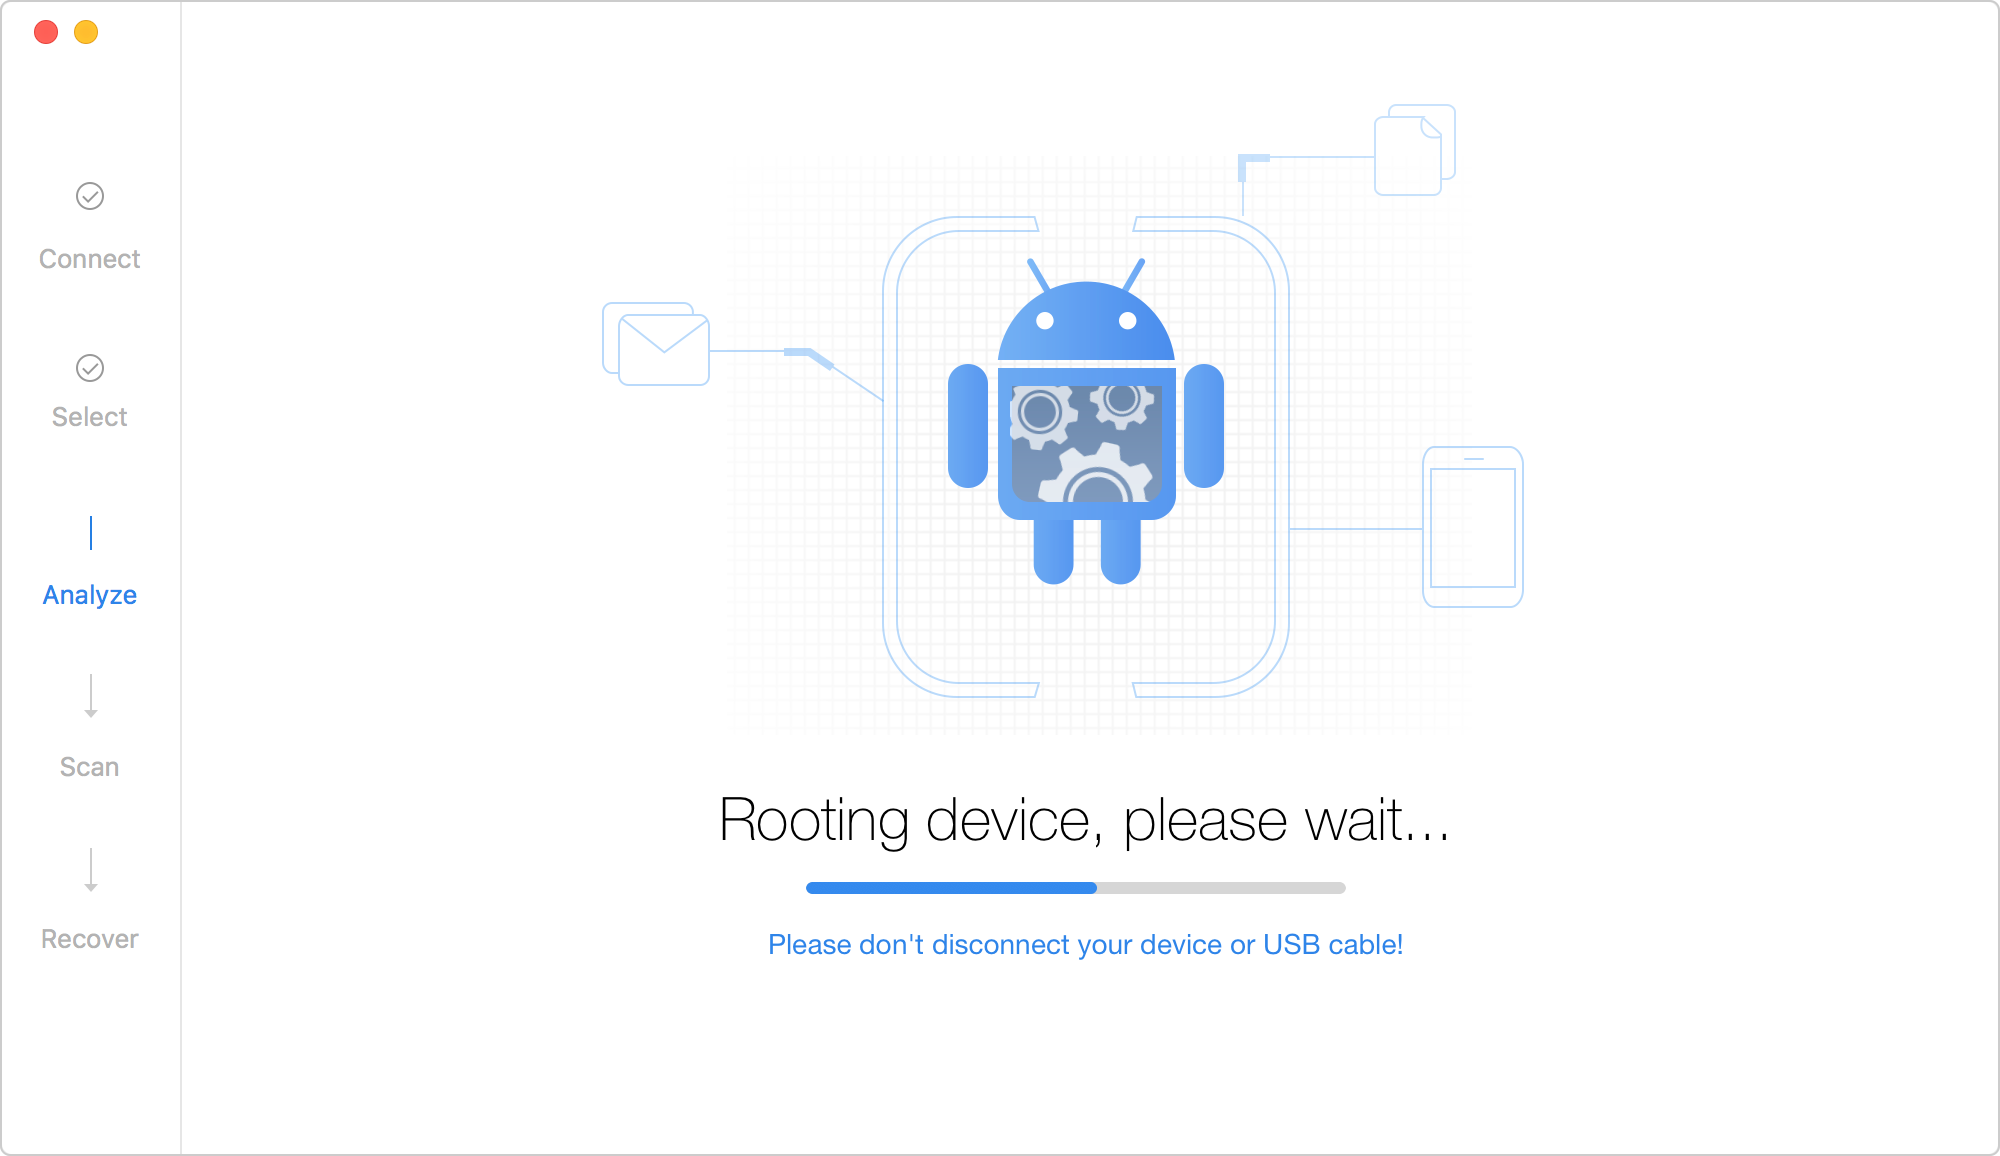
If your device has not been rooted, it will pop out a message “Your device hasn’t been rooted yet.” If you click Deep Scan, your device will be rooted by default. Once the rooting process finishes, the Deep Scan operation will start automatically.
Once the scanning process is completed, you can view the scanning result. It will show both the existed and lost data. To find the lost data on device, you can switch from "List all items" to "Only list deleted". If you want to locate your desired data quickly, please input keywords in the Search Box.
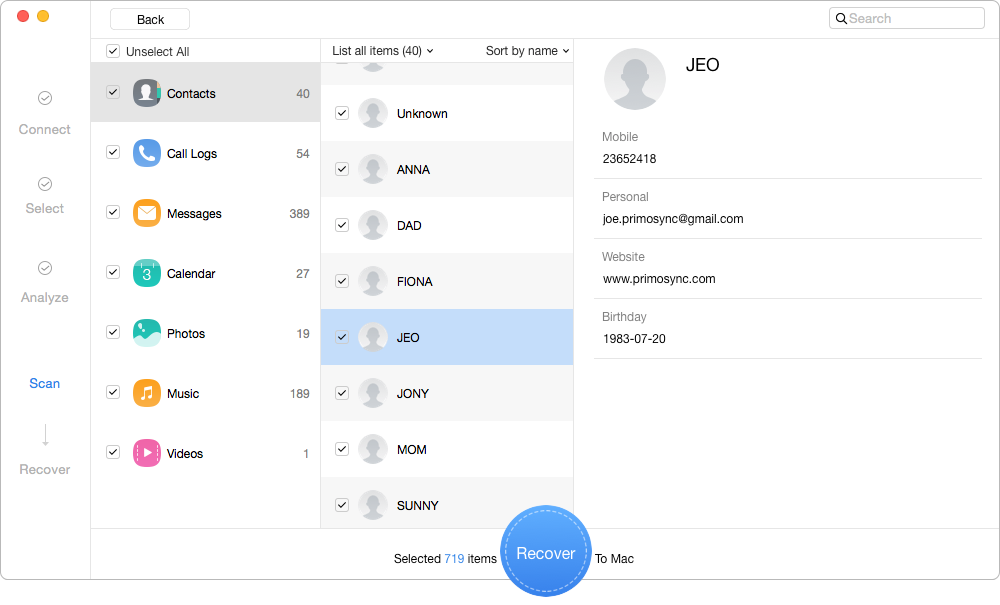
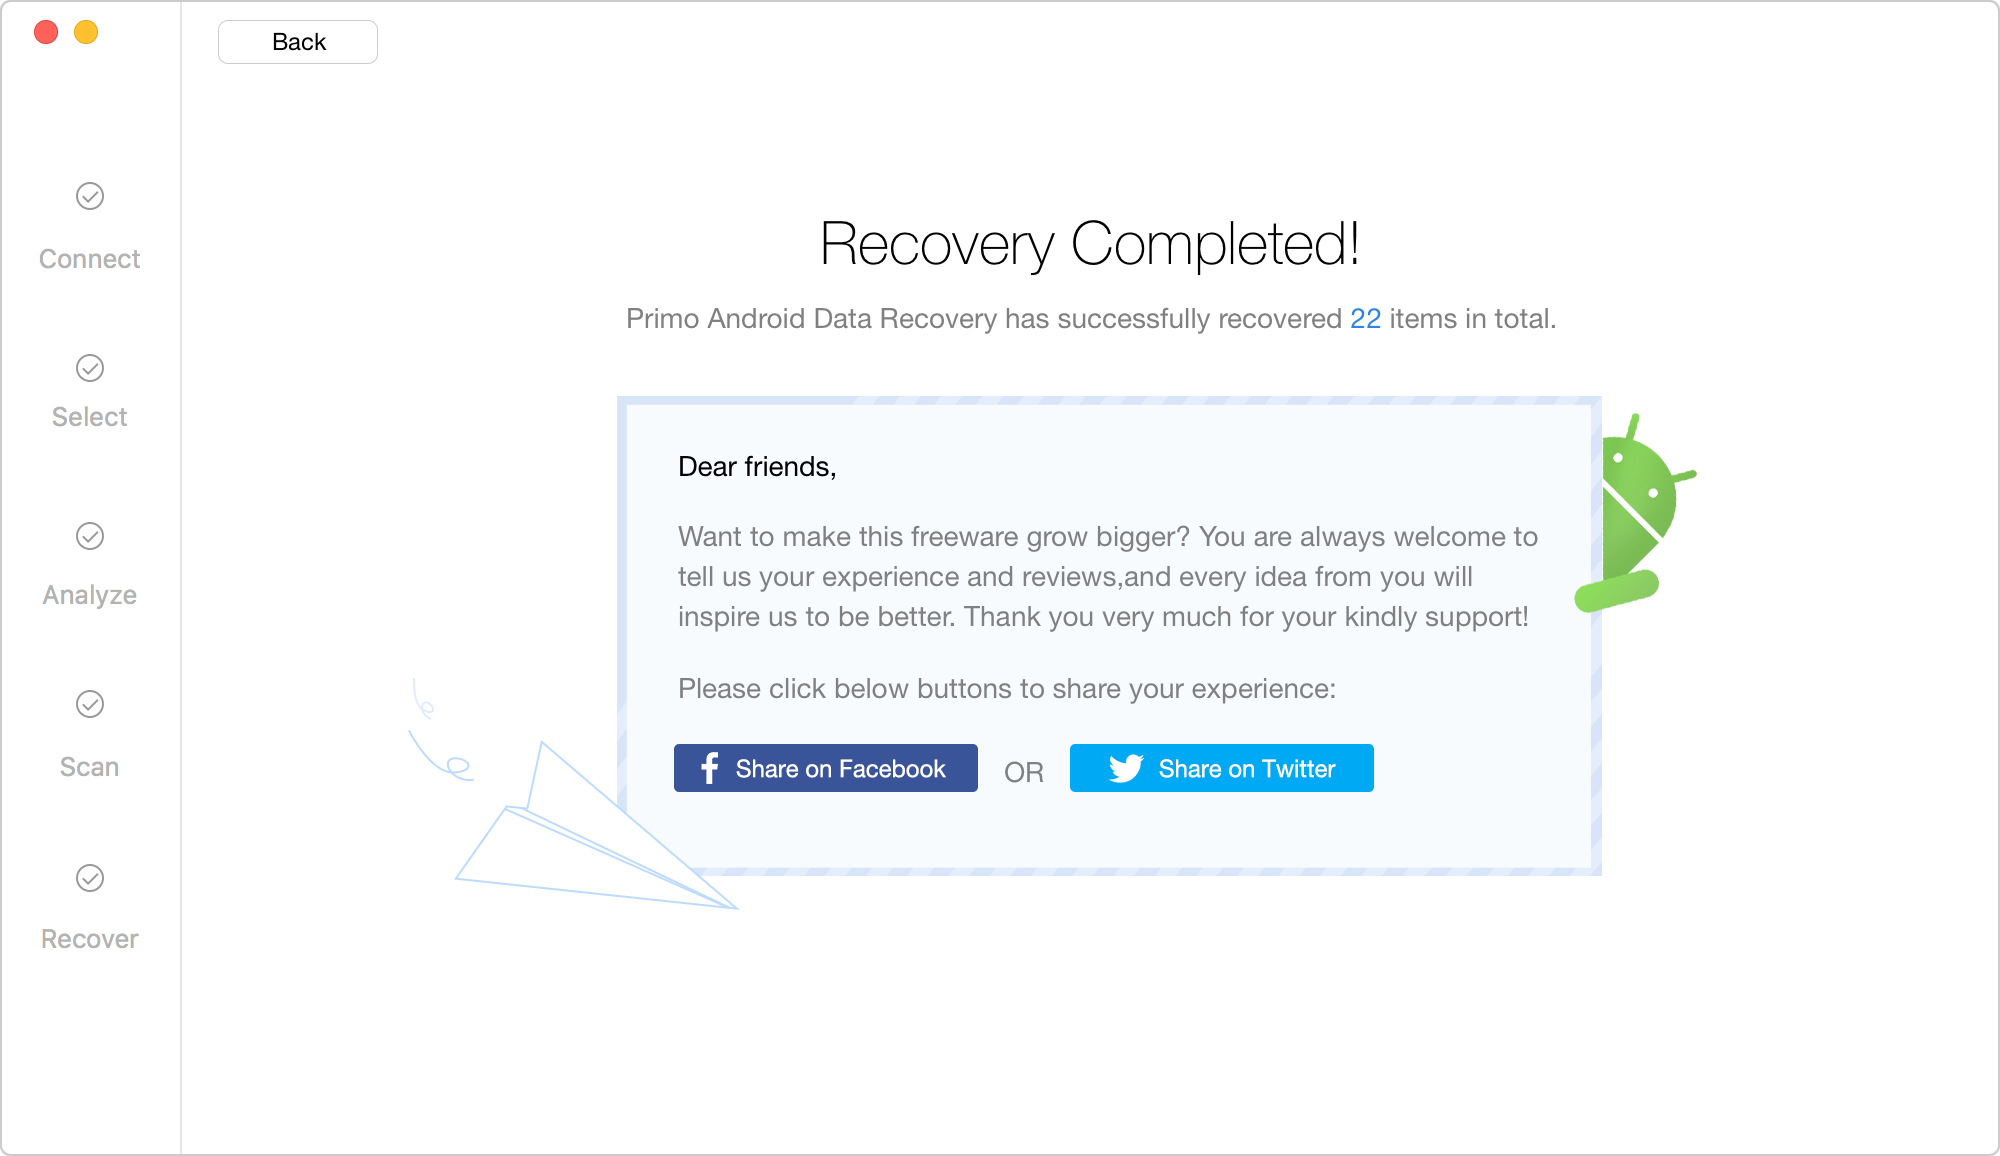
After choosing the data you want to recover, please click  button to recover data to computer. If you want to check the extracted data or share Primo Android Data Recovery with your friends, please click “Share on Facebook” or “Share on Twitter” option. To check the extracted data on computer or go to main interface, please click “Back” option.
Design Simple and Beautiful Software
with Passion & Love


